
Revit to GLB
Revit GLB exporter
How to export Revit to GLB
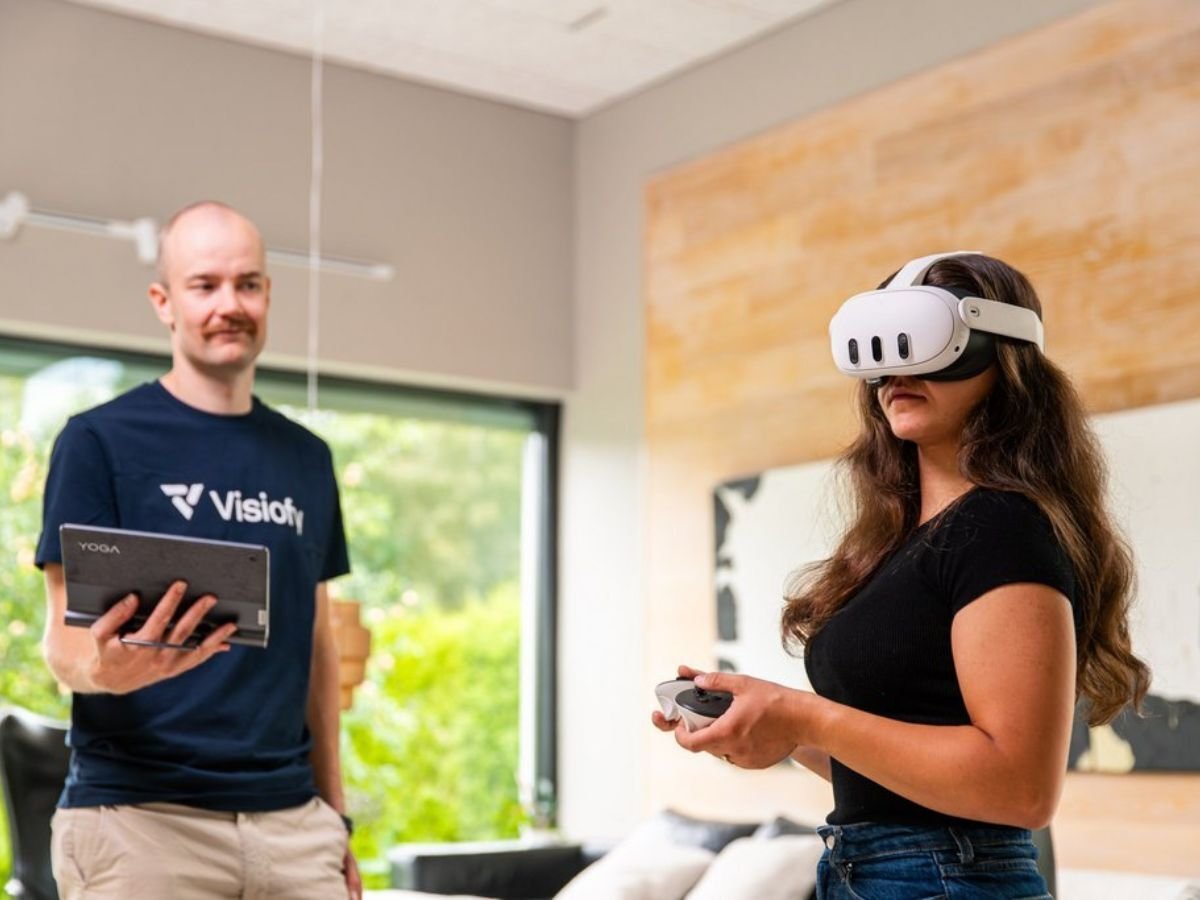
Visiofy works seamlessly with Meta Quest headsets and offers an impressive way to showcase models. Here's a quick guide on how to use Visiofy with a Meta Quest:
Turn on the VR headset and connect it to a Wi-Fi (you’ll see the signal strength in the bottom bar next to the avatar)
Open the Browser from the menu
Go to app.visiofy.com and log in
Select the model you want to present and click Open.
Click ENTER VR
If a room boundary gets auto-detected, confirm it. If not, click Create new boundary and follow the instructions.
Click ENTER VR again
Now the model is ready for the viewer explore.
We highly recommend to mirror the VR headset’s view to a computer screen. This way, other can follow the viewer's movements and guide them if needed.
On your computer, go to oculus.com/casting
Log in with your email
Retrieve the 6-digit code sent by Meta to your email and enter it
Make sure both the computer and VR headset are connected to the same Wi-Fi network
Open quick settings on the VR headset
Select Cast from the top right → choose Network
Now you’ll see the client’s VR view on your computer screen and can guide them easily.

Walk Freely: If space permits, you can physically walk around a space for a natural experience.
Use the Thumbstick: With limited space available, use the thumbstick and trigger to teleport to specific points in the model.

How to Use the Controllers on the Meta Quest Headset
How to Record the Screen of Your VR Device
How to Present a Visiofy Space to a Client with VR
