sketchup vr walkthrough
can sketchup be used for virtual reality?
sketchup vr tutorial
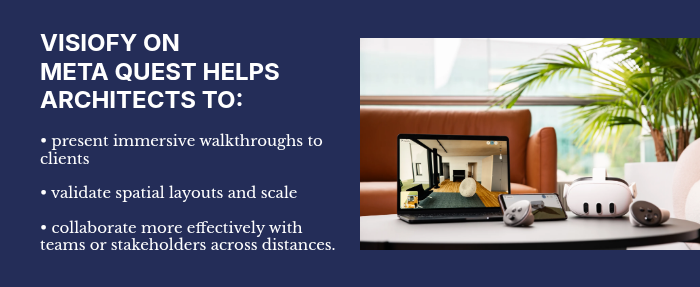
As architects embrace immersive technologies to visualize and refine their designs, devices like Meta Quest offer a powerful way to step inside architectural concepts in real-time. Understanding how to effectively use the Meta Quest controllers can significantly enhance your ability to navigate, present, and explore architectural spaces. This post walks you through general controls and then offers tips specifically for using Visiofy with Meta Quest.
Whether you're reviewing a 3D model or guiding a client through a virtual walkthrough, the Touch Plus controllers on Meta Quest are your essential tools for interacting with virtual environments. Here's a breakdown of the most common functions:

Thumbsticks: Move around freely in your virtual environment. Ideal for exploring spaces room by room or adjusting your viewpoint fluidly.
Trigger (front of the controller): Use this to select objects—such as doors, furniture, or information points within a model.
A Button (right controller) & X Button (left controller): Also used to select items, offering multiple options for interaction.
B Button (right controller) & Y Button (left controller): These return you to the previous screen or menu—perfect for retracing your steps or switching between design versions.
Meta Button: Opens the universal menu. Press and hold this button to recenter your view, which is helpful when your orientation feels off or if you’ve turned around in the virtual space.
Grip Button (side of the controller): Grab objects or simulate making a fist when using hand tracking. This is useful for picking up or moving elements within a space.
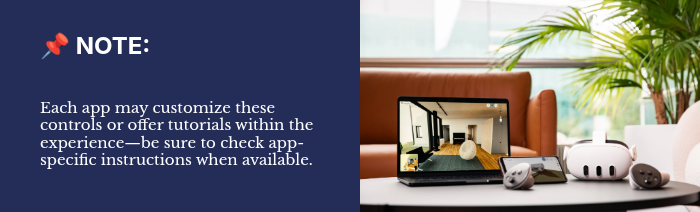
Menu Button: Brings up app-specific menus. Each application may display different options, such as settings, tool selections, or design layers.
If your controllers are idle, pressing any button will wake them up, ensuring you're always ready to jump back into your project.
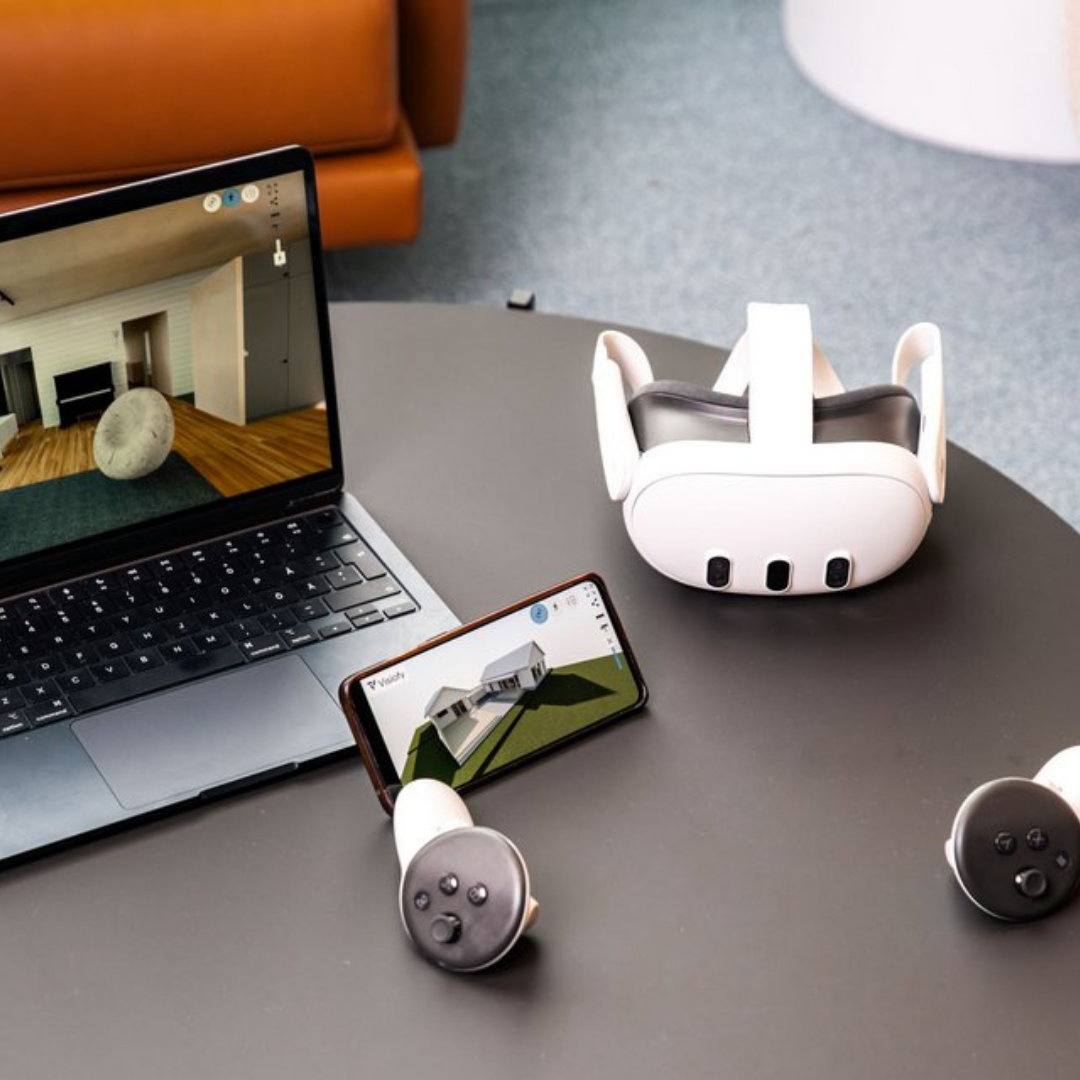
At Visiofy, we've designed our platform to integrate smoothly with Meta Quest, allowing architects to access high-quality, browser-based 3D walkthroughs without installing additional software.
Open Your Visiofy Link in the Meta Quest Browser: Whether you’re accessing a residential floor plan or a full development proposal, just click the link—no apps needed.
Walk Freely or Use the Thumbstick: You can physically walk around a space for a natural experience or use the thumbstick and trigger to teleport to specific points in the model.
Interactive Exploration: Use the trigger to highlight and select interactive elements like annotations or measurements.
Final Thoughts
Using Meta Quest with Visiofy transforms architectural presentations into engaging, memorable experiences. With just a basic understanding of the controller layout, architects can harness VR to refine their work and captivate clients like never before.
Ready to try it out? Open your Visiofy link or our demo house on Meta Quest and step into your designs.