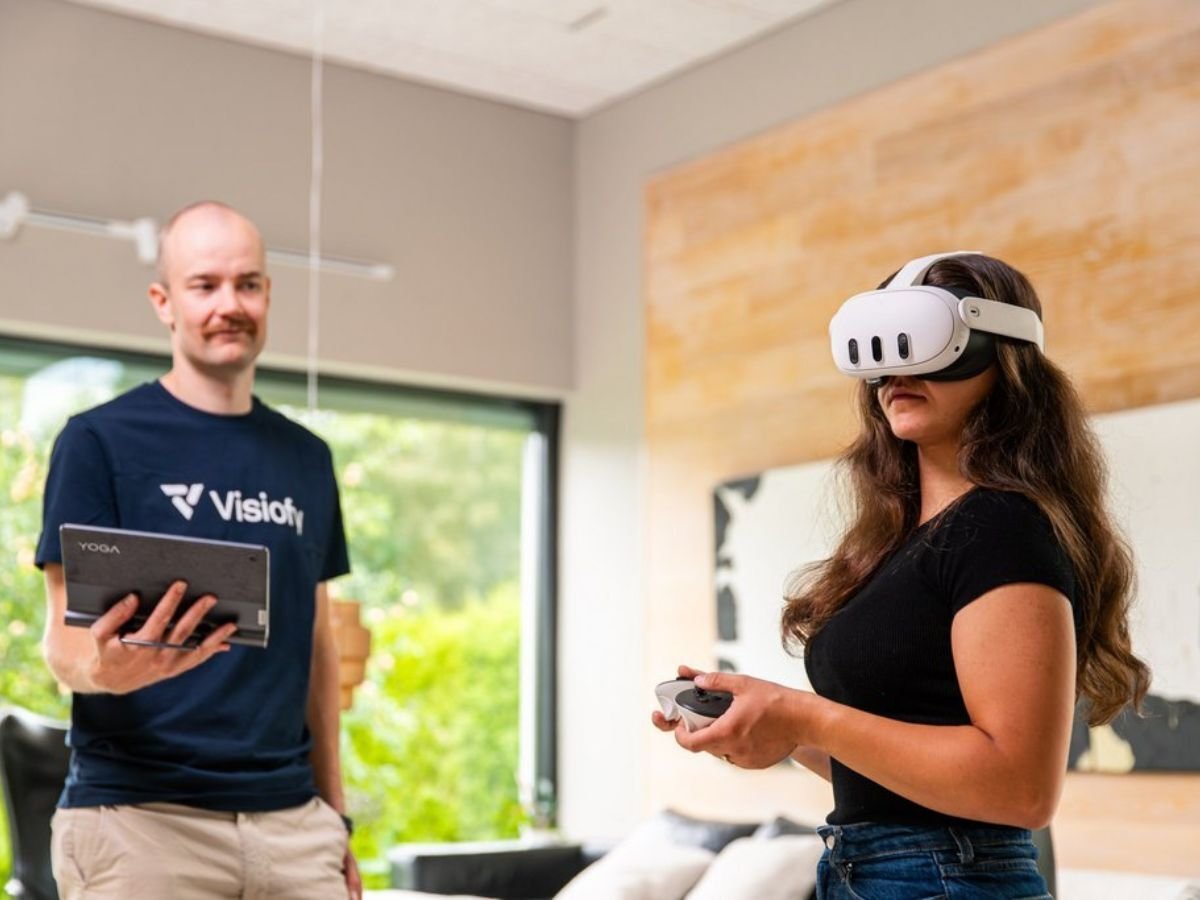
How to Present a Visiofy Model toa Client Using a VR Headset
Visiofy works seamlessly with Meta Quest headsets (the best VR headset for architecture, according to us) and offers an impressive way to showcase models to clients. To avoid unnecessary hassle, we recommend preparing everything properly in advance. Below are clear step-by-step instructions to help you get started and ensure the presentation runs smoothly.
1. Set everything up well before the client arrives
When using Visiofy with VR headsets for the first time, Meta will guide you through the basics. Make sure to reserve enough time for setup so everything is ready before the client arrives—it makes the experience look much more professional. We highly recommend going through all of Meta’s initial tutorials to make later use easier.
Here’s how to get started:
-
Turn on the VR headset and connect it to Wi-Fi (you’ll see the signal strength in the bottom bar next to the avatar)
-
Open the Browser from the menu
-
Go to visiofy.com
-
Log in
-
Select the model you want to present and click Open
-
Click ENTER VR
-
If a boundary appears, confirm it. If not, click Create new boundary and follow the instructions
-
Click ENTER VR again
Now the model is ready for the client to explore.
2. Mirror the VR view to your computer screen
It’s highly recommended to mirror the VR headset’s view to a computer screen. This way, you can follow the client’s movements and guide them if needed. Others present in the room can also follow along with the experience.
-
On your computer, go to oculus.com/casting
-
Log in with your email
-
Retrieve the 6-digit code sent by Meta to your email and enter it
-
Make sure both the computer and VR headset are connected to the same Wi-Fi network
-
Open quick settings on the VR headset
-
Select Cast from the top right → choose Network
Now you’ll see the client’s VR view on your computer screen and can guide them easily.
3. During the presentation
-
Show the client how to move around by pointing the controller and pressing the trigger (check separate instructions if needed for using the controllers)
-
In smaller spaces, it’s best to walk physicallyPress the Meta button to return to quick settings
Remember: the less hassle, the better the experience
When the VR presentation runs smoothly, the client can focus on what matters—the model itself. In my experience, having everything ready and the mirroring set up makes the process very smooth. And best of all, the client usually walks away genuinely impressed.
Oh, and if something doesn’t work or you have questions, just drop a line or give us a call—we’ll get you sorted.
Further reading:
How to Use the Controllers on the Meta Quest Headset
How to Record the Screen of Your VR Device
VR Architecture: The Future of Design and Client Communications
