


sketchup vr walkthrough
can sketchup be used for virtual reality?
sketchup vr tutorial
Whether you’re designing a modern home, a compact cabin, or an entire housing development, being able to present your SketchUp model as a full-scale, immersive experience can change everything. A VR walkthrough offers clients a clear understanding of the design — before a single wall is built.
In this guide, we’ll walk you through how to go from SketchUp to a VR-ready walkthrough, what tools you need, and how platforms like Visiofy simplify the process.

SketchUp is already a powerful tool for creating quick, intuitive 3D models. But sometimes, viewing that model on a flat screen isn't enough. Clients may struggle with depth, proportion, or flow — and that's where VR comes in.
View and explore spaces at full scale
Reduce back-and-forth by answering questions visually
Make a stronger impression in meetings and proposals
Easily share models without additional installs or plugins

Before exporting, clean your model to ensure good performance and clarity in VR:
Remove excessive elements like cars, trees, or surrounding clutter
Hide hidden layers or objects you don’t want visible in the tour
Optimize textures and lighting for clarity
Ensure everything is modeled at the correct real-world scale
Visiofy accepts .glb files, which are ideal for web-based and VR applications.
Here’s how to export from SketchUp:
Go to File > Export > 3D Model
Choose glTF File (.glb) from the format dropdown
Make sure you select:
“Export only current selection” (if needed)
A logical export name (e.g., “ClientModel_VR.glb”)
Click Export
💡TIP
For best results, make sure to use the SketchUp 2021 or newer version, which supports glTF exporting natively.
Once you’ve exported your .glb file, uploading it to Visiofy is quick:
Visit app.visiofy.com
Log in and click “New Project”
Upload your .glb file
Name your project and click Create Project
Your model will be processed into an immersive, walkable scene that works on desktop, mobile, and VR headsets.

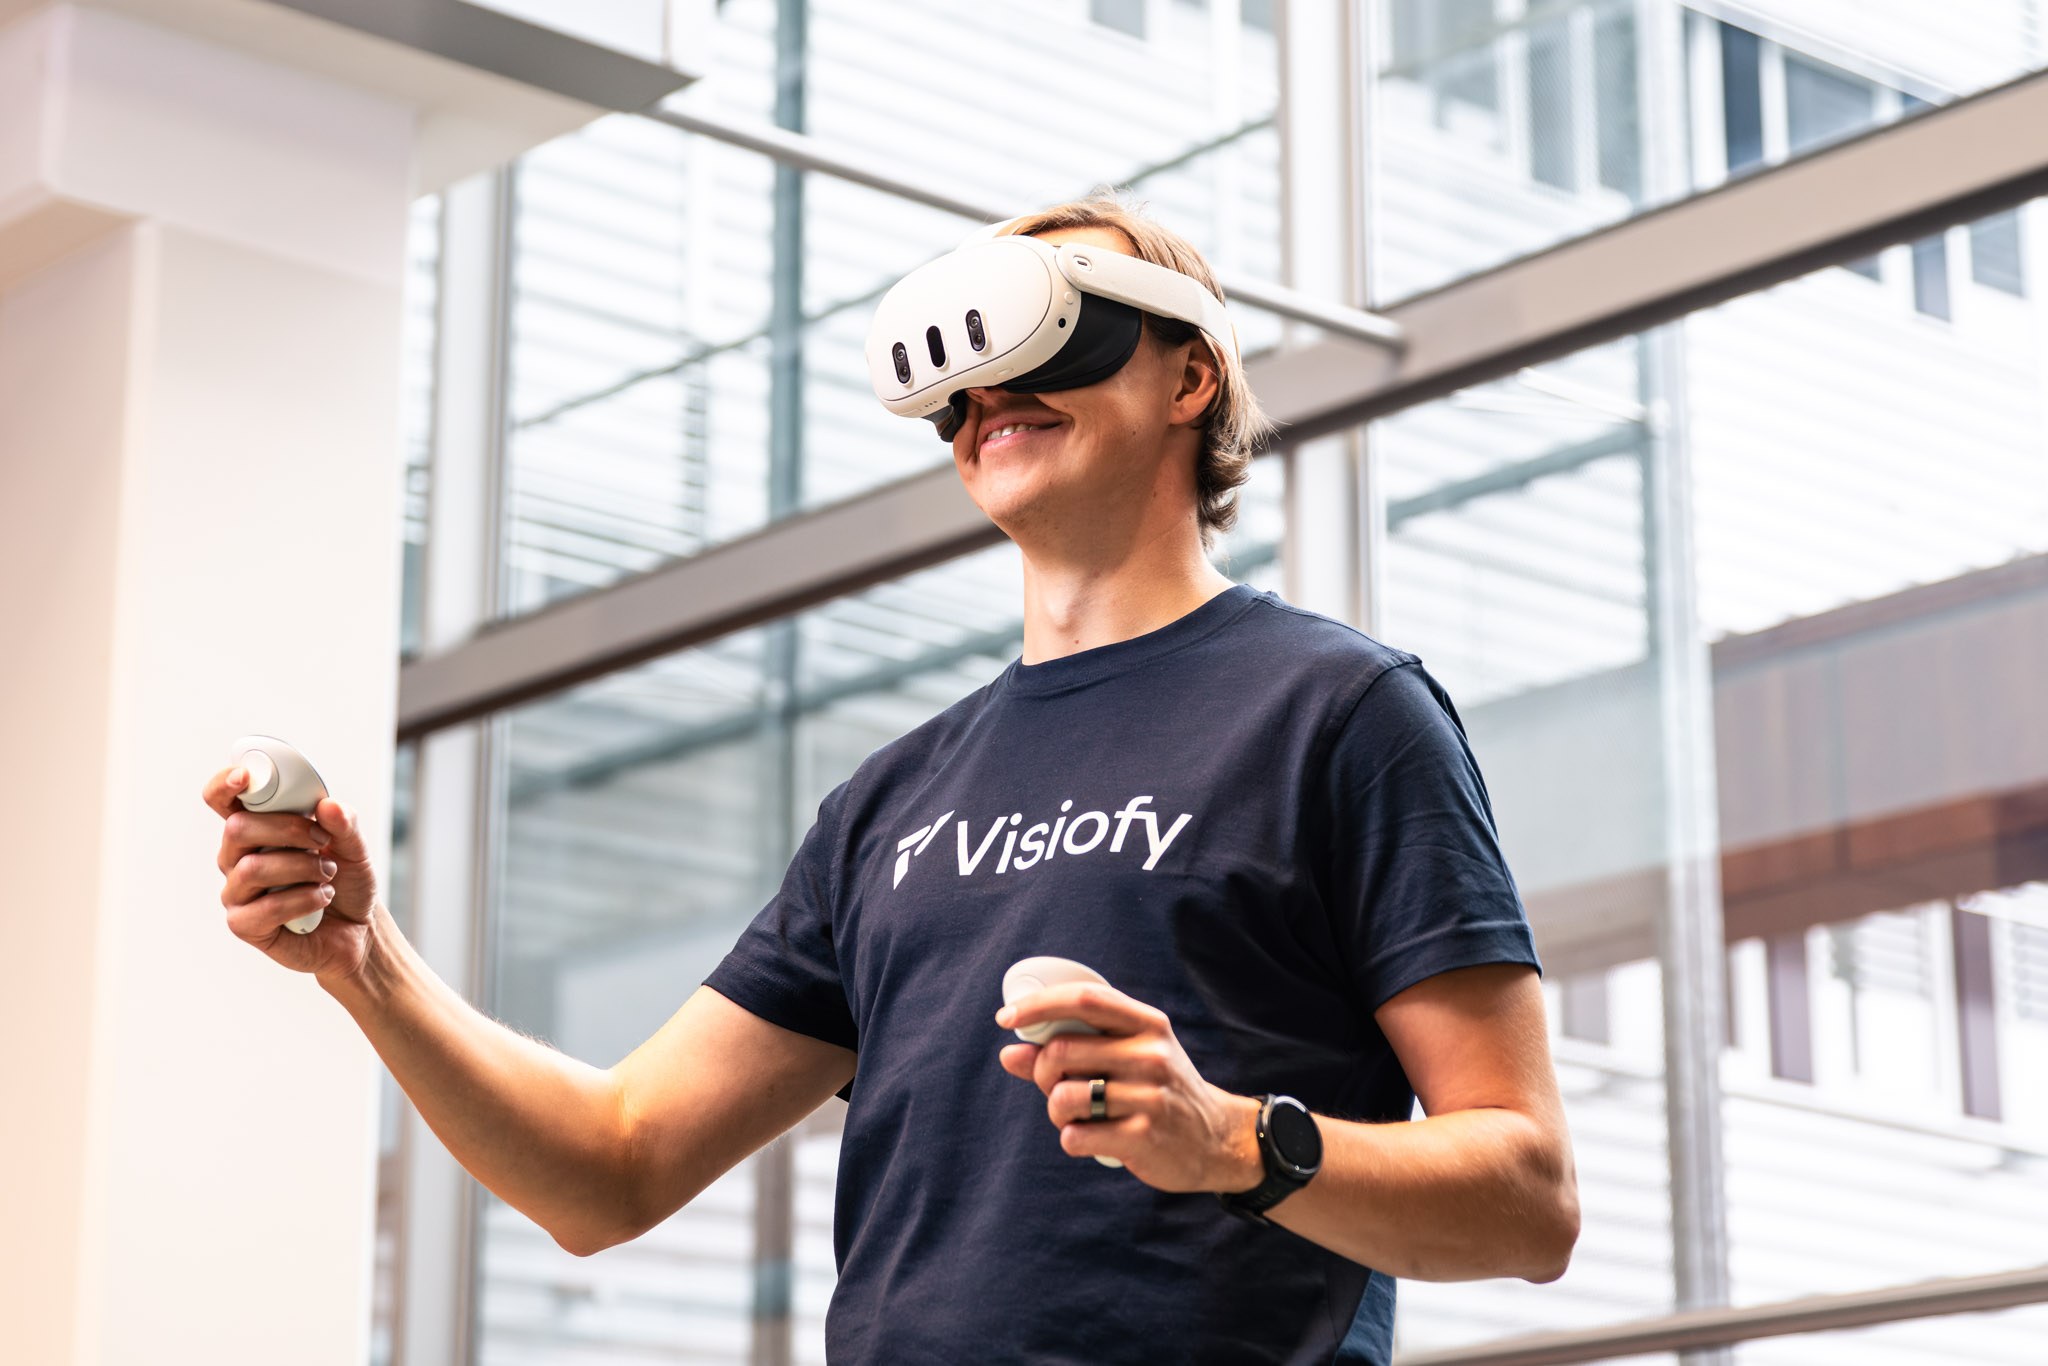
Even though you can view your model on any browser, the real magic happens in a VR headset.
To view in a Meta Quest:
Put on the headset and open the Browser app
Navigate to your model’s Visiofy link (here's how to copy the link to your VR headset browser super fast and easy)
Tap the “Enter VR” (goggles) icon
You’ll be transported into a walkable version of your SketchUp model
No need for plugins, Unity, or complicated installations.

While Visiofy offers the fastest path from SketchUp to VR, you could also explore:
Twinmotion: Good for advanced visualization, but requires installation and GPU resources
Unity: Fully customizable, but very complex for non-developers
Enscape or Lumion: Great for rendering with limited real-time VR support
Each of these tools may require extra plugins or technical knowledge.
After uploading your model, you can easily:
Send a shareable link to clients and collaborators
Embed the tour on your website or portfolio
Generate a QR code for use at trade shows or printed brochures
Add the link to PDF project overviews
SketchUp makes designing intuitive. Visiofy makes presenting immersive. And together, they give you a competitive edge in communicating spatial ideas.
Whether you’re building a client presentation, preparing for a competition, or refining a student portfolio, adding VR takes your design one step further — without needing to code or render.
🔗 Try Visiofy Free
🔗 Book a Demo
🔗 Getting Started with Visiofy: A Beginner’s Guide
